Deploy a static site to DigitalOcean
Before continuing, you need to have a few things created:
- A DigitalOcean account.
- A static site. We’ll use Hugo, but you can use any tool that outputs static HTML. We’ll introduce Docker later to handle building the static site for production.
- A Git repository. We’ll use GitHub but DigitalOcean also supports GitLab, if you prefer.
- (Optionally) A domain name, if this is a production site.
The DigitalOcean App Platform will handle automatic deployments, CDN caching, and TLS certificates for us. You shouldn’t need anything else!
# Dockerfile
FROM ubuntu:24.04
RUN apt-get update && \
    apt-get install -y hugo
ADD . /src
RUN hugo -d /src/public
DigitalOcean supports many common tools out of the box, but it doesn’t leave us with much control or flexibility. Instead, we can provide a Dockerfile to have DigitalOcean build our site in a container and then deploy the results.
While this doesn’t bring us much benefit up-front, it allows for us to control
what version of Hugo we build with, and allows us to configure other build tools
like npm if we need to as the site grows. We could even replace Hugo entirely
in the future, and only the Dockerfile has to change - DigitalOcean will be
none the wiser.
Put this code in a Dockerfile - note that since the DigitalOcean App Platform
just uses the Dockerfile to build the site, we’re not setting up the container
to run a server.
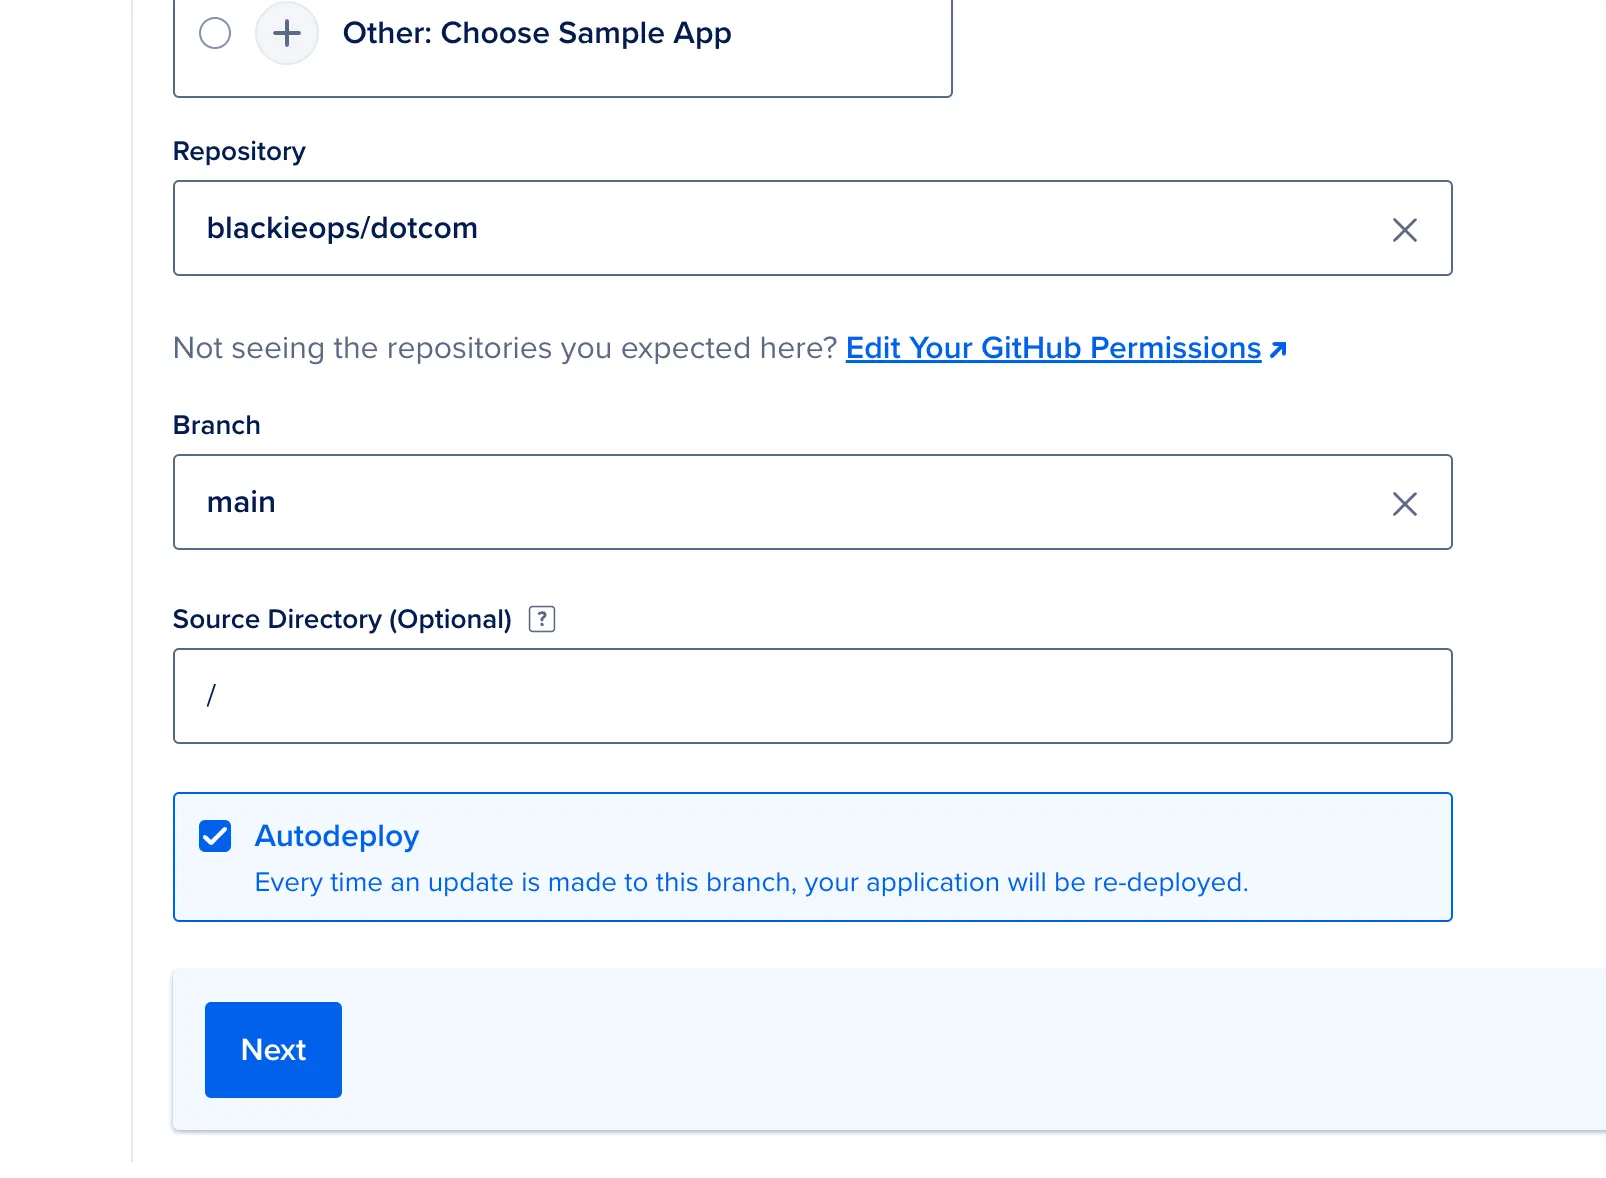
- Log in to your DigitalOcean account.
- Click the Create button in the top right.
- Select App Platform from the list of options.
- Choose either GitHub or GitLab and authorize access to the repository with your site in it.
- Select the repository from the list and ensure “Autodeploy” is enabled.
- Click Next.
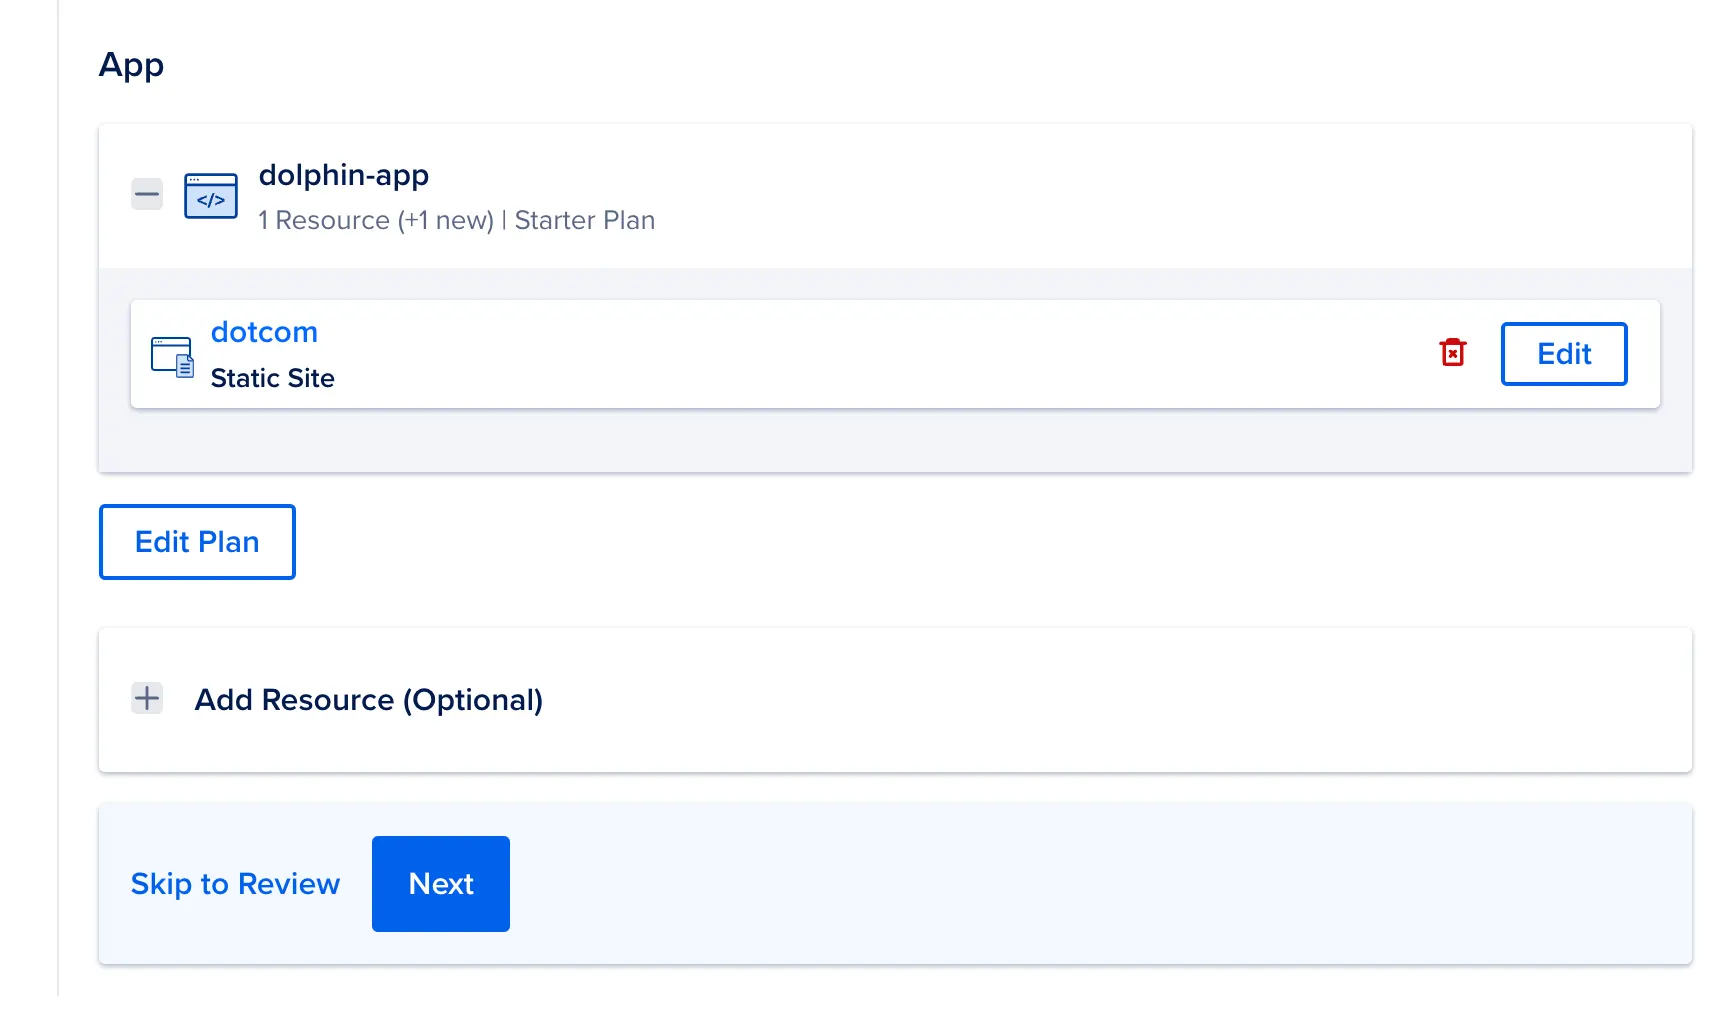
DigitalOcean may have autodetected the Dockerfile as a container app, which is
not what we want. Hit “Edit” on the resource, and change the “Resource Type” to
“Static Site”. You will also need to edit the “Output Directory” to be the path
to the generated output - for the container we created earlier, this will be
/src/public.
Once you’re done, click “Back”, then “Skip to Review” (or manually click through “Next” a couple more times).
Once the app is created, it will start building and deploying automatically.
At this point, we’re done the basic setup. The latest deploy should show near the top of the page and give you the link when it’s ready. It may take a few minutes before everything is available.
If you have a custom domain, you can add it under “Settings” → “Domains”, and follow the given instructions to add the necessary DNS records.
If you enabled “Autodeploy” during the setup, every push to the main branch of the repository will automatically be deployed within seconds.
Enjoy your new site!